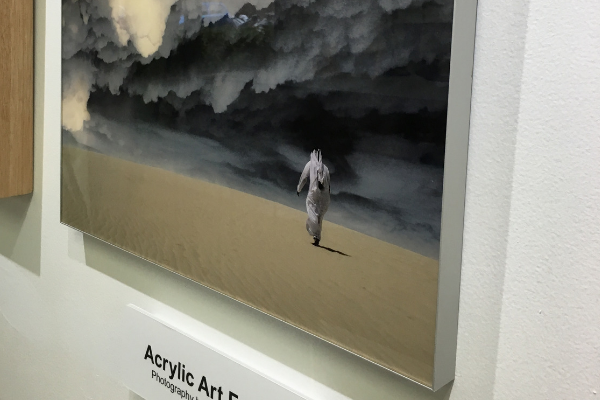
Acrylic mounting is basically done with pressure rollers to mount the print to acrylic using an optically clear adhesive, much like image shown here. It’s a straightforward process, but like everything, the devil is in the details.
You can’t make a good cake without good ingredients and it’s the same with acrylic mounting and the most important ingredients for this process is the acrylic itself. The factors to look out for are clarity or light transmission (the more the better), haze (the less the better). This determines the acrylics transparency and optical brightness. UV inhibition is also important as this protects your image. There are specially treated acrylics with UV ratings of 99% plus, but they are expensive for general use – look for a good quality general purpose acrylic which should have a 70% UV rating. There are also QC issues with all acrylics. Some examples are fine surface scratching, inclusions and impurities like minute black dots inside the acrylic and impact marks on the surface. These are all possible issues from the manufacturer, but if you stick to the top brands, they can be avoided.
Printing type is most important in acrylic mounting. As a basic rule, the smoother the print, the better result you will get from the acrylic mounting. This is because texture in the print will show up as silvering which is minute air pockets trapped between print and acrylic – think putting glad-wrap over a plate of peas (lots of silvering) vs over a plate of jelly (no silvering). You can’t necessarily see the air pockets, but its existence leads to loss of image quality. So, for good acrylic mounting, avoid rag prints, lustre prints, etc and go for gloss or metallic prints. One caveat is polyester based prints like Cibachrome, Fujiflex, etc. These are very smooth but are not suitable for acrylic mounting as polyester is a low surface energy material which means it doesn’t stick very well using adhesives. There is a risk of bubbling, so avoid these types of prints.
You can’t do good acrylic mounting without a clean environment. Dust, even minute particles are the enemy of this process. Don’t forget, the mounting is irreversible, so any trapped dust is there for good. Acrylic mounting should be done in a clean room where dust is kept out and access restricted to technicians. All equipment in this room should be kept clean and air movement to a minimal. If possible, air coming in should be filtered and have a positive pressure i.e. when you open the door, air should flow out, not in.
If you are creating acrylic wall panels, you will need a backing put behind the print as you should not attach hanging battens/frames straight to the back of the print. The most common methods are to use a metal composite like Dibond or a plastic sheet. The Dibond is stronger so you can use a thin acrylic like 3mm and create a sandwich structure. Plastic sheets don’t have any rigidity, so a thicker acrylic like 6mm is recommended. In conditions where there is a lot of thermal expansion/contraction (like Australia) be cautious of the Dibond/acrylic sandwich structure as there is a large difference in the expansion rates between the metal and acrylic and over prolonged cycles, this may affect the mounting.
Our recommendation is to stick to the thicker acrylic/plastic back and strengthen the whole panel with a good subframe hidden on back. Not only does this avoid any expansion issue, it looks better as the edges are polished acrylic rather than layers.
Leave A Comment